A Timeline of Gear for the Beginner Climber - What you need to buy & when if you're getting into rock climbing

Getting into climbing can feel daunting, just like stepping off the ground to commence a climb itself. When it comes to getting the gear, sometimes it can feel like there’s so many parts to a climber’s “kit” that you don’t know where to start. Well the great news when it comes to climbing is that unlike other sports, like mountain biking for example, rock climbing doesn’t force you to do a big financial outlay straight off the bat to get into the sport. In fact, to start your rock climbing gear supply you only need to outlay as much as a standard mountain biking helmet to get you going. There is a logical progression of gear that you should purchase in a certain order so that firstly - you are getting the most bang for your buck as far as climbing performance gains and, secondly - you don’t waste money on things you may not need. Below is our rundown of what you should buy as a beginner and when you should consider buying it.
1. Climbing Shoes

The biggest performance advantage you will get from any piece of gear is when transitioning from regular shoes to climbing shoes. They allow you to stand on much smaller holds than you can in your sneakers and offer far superior grip when using friction-based types of footholds. These are definitely the piece of gear you want to buy first. Before buying your first pair of climbing shoes you should ideally have climbed a couple times in the gym or outdoors with friends to ensure that climbing is for you. Using gym rental shoes for the first few times is a good way to get a feel of the difference climbing shoes can make. After the first few months though you will benefit greatly from the stickier rubber, better fit and reduced ‘gross-factor’ of owning your own climbing shoes. Purchasing shoes first also allows you to use your new gear for both bouldering and roped climbing so it is a good investment if you are unsure which path you will tend towards. No matter if you want to focus on bouldering in the gym, sport climbing, trad climbing or expedition big walling, your climbing shoes will be the biggest part of all of these disciplines.
Climbing Shoes Click HERE
2. Chalk

The second biggest advantage, especially in the warmer months, is the use of chalk. Climbing chalk allows you to remove sweat from your hands whilst on the wall, increasing the friction you have with the wall and hence allowing you to grab smaller and more sloped holds. Chalk bags come in all shapes and sizes but in reality, they all do the same job. Your chalk bag is the place where you can add a bit of flare to your get-up; there are hundreds of colours and designs all with very minor functional differences, your best bet is to choose the one you like the look of most. For the actual chalk there are many brands and styles on the market. In the beginning the brand of chalk you choose will be of little consequence and so the style is much more important. The three main styles are in a ball, chunky and powdery. When you dip your hand into powder chalk, a lot comes out. This means you get a very effective chalking but it also means you burn through chalk quickly, and can cake the holds which, counterintuitively, actually reduces grip. Instead we’d recommend trying out a chalk ball first. Chalk balls offer slow release chalk that is often sufficient for most people and gives a more even coating of chalk; they are also cheaper and usually last longer. Chunky chalk is in between the two, providing something to grab whilst also giving a more substantial coating on the hands. Chalk is another one of those things that is useful for both bouldering and roped climbing and you should consider purchasing it not too long after purchasing shoes.
Chalk & Chalk Bags Click HERE
3. Climbing Harness

The third piece of equipment you should purchase is a harness. This doesn’t offer much of a performance benefit but if you’ve been renting gym harnesses it does offer a largely improved comfort factor and reduced prices at most climbing gyms. It also means you have one if you get invited to climb with friends outdoors. Personal harnesses offer wider straps for improved weight distribution, padding around the straps and a more fine-tuned fit than hire harnesses. They also allow you to store or “rack” gear on them while you are climbing. A beginner should consider buying a harness when they feel that roped climbing is something they will returning to frequently. Harnesses should fit just tight enough so it can’t be pulled down over your hip bones, it should not be constrictive. While it feels more reassuring to have your harness done up super tight, this can make it uncomfortable to climb. It is a good idea to hang in your harness from the fixed ropes they have in store to get a proper feel for it. Because harnesses are life-support equipment they cannot be returned under the Australian Consumer Law and hence must be fitted properly in store. Shop staff are trained in fitting harnesses and will be able to assist you with this process.
Climbing Harnesses Click HERE
Stage 1 Climbing Setup Complete!
For the beginner climber, or indeed those who want to focus on indoor bouldering or top-roping there is nothing else you need, though small things such as brushes for cleaning holds and finger tape can be useful. The next major gear purchases you will need to make arise if you look into lead climbing or if you want to transition to outdoor climbing that you set up yourself.
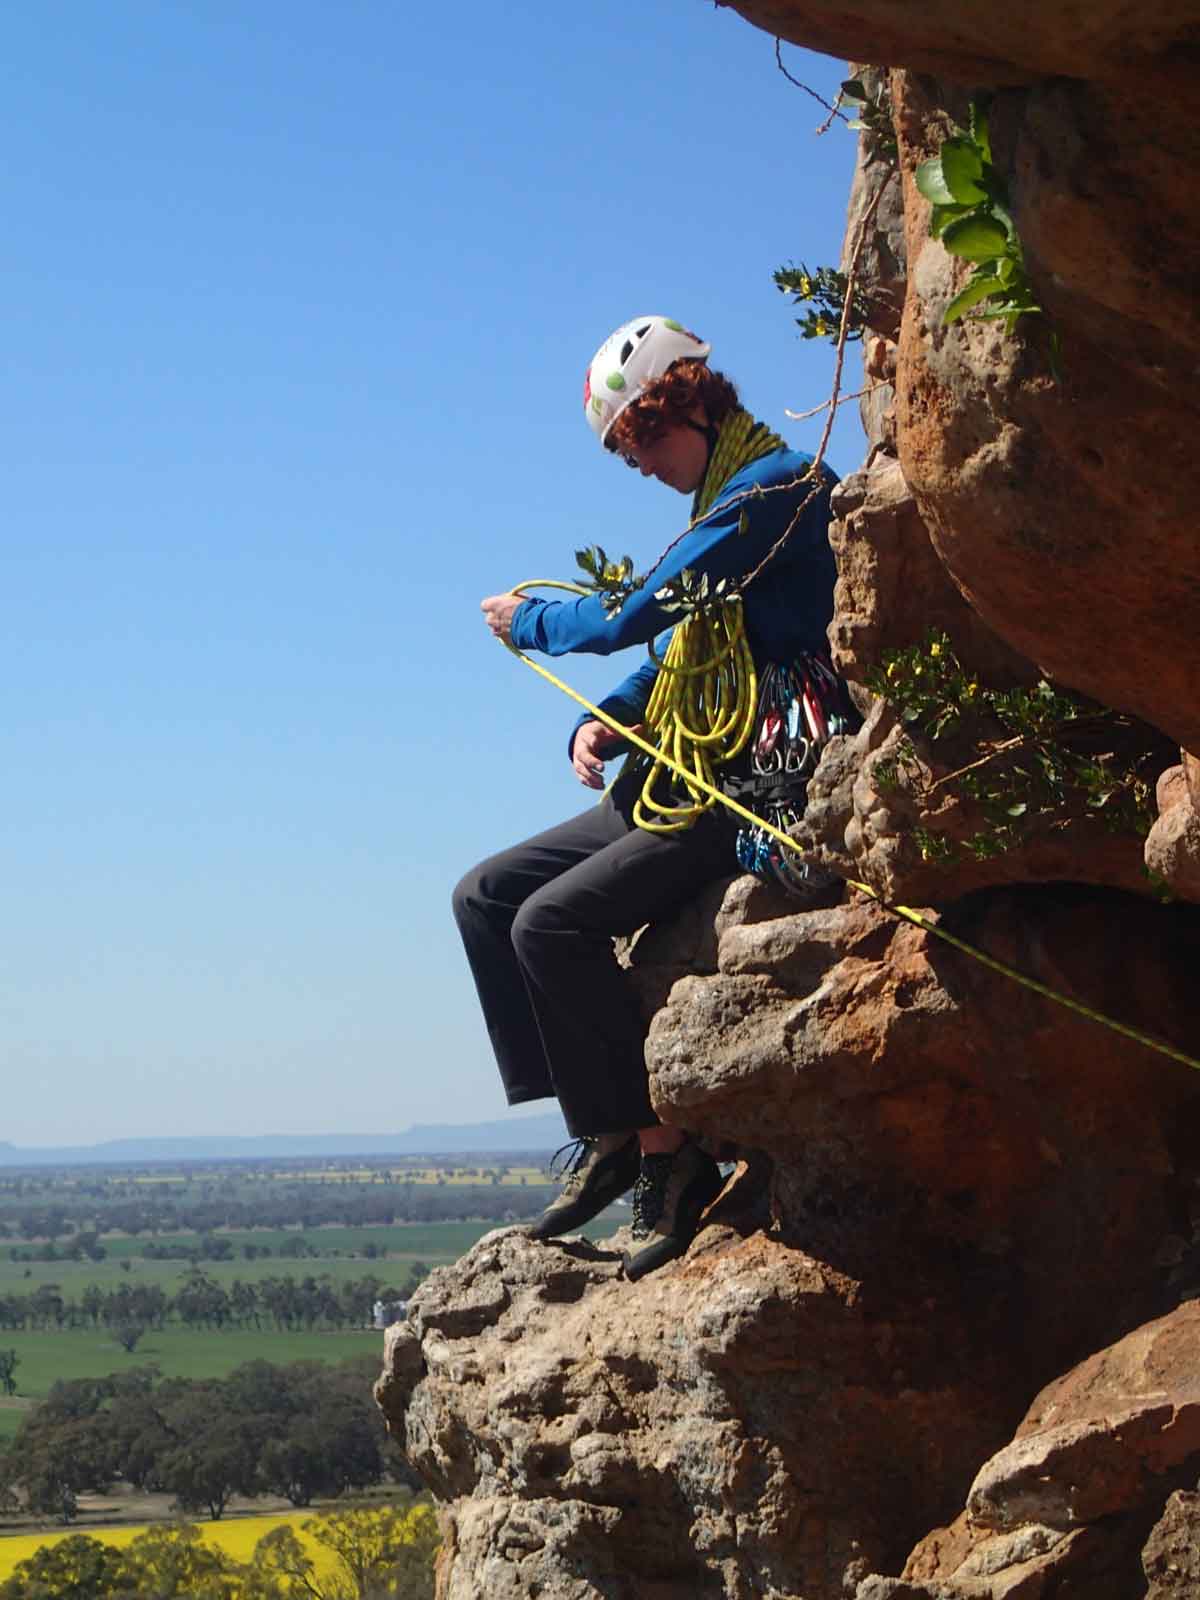
4. Belay Device, Safety Sling & Two Locking Carabiners

Ok, so you’ve started to really love climbing. Top-roping in the gym is great but you want more adventure… Well this mini bundle of climbing gear including a belay device, safety sling and two locking carabiners opens doors. This means that if you’ve got a bunch of friends who climb outside and already have their own “communal” gear like rope and quickdraws, you have all the “personal” gear you need to tag along. Having a belay device also means you can rappel, which is needed to access some climbing spots. One locking carabiner should be a HMS belay style carabiner to couple with your belay device, and the other should be a general locking carabiner used to attach your safety sling to the wall. Although there are very fancy safety slings out there (up to $70), a simple 60cm nylon sling for $10 is all you need to get going.
Belay Devices Click HERE
Locking Carabiners Click HERE
Safety Slings & PAS Click HERE
5. Climbing Rope

Finally we get to the climbing rope. Having your own climbing rope feels like a rite of passage, but in reality by adding it to your climbing gear bag it does two things. Firstly it means you can start lead climbing in the gym which is fantastic training for climbing outside and, secondly, as a climbing rope is what we call “non-redundant” in the climbing system (meaning it cannot fail as there’s no backup), you can be confident you know where it’s been, what it’s done, how much abuse it has had and how old it is. You can take charge of your safety line, which is tricky to do if you’re always borrowing your friends.
A climbing rope is the single biggest investment you’ve made into your climbing so far. Love your rope and it will love you back. Keep it clean, don’t drag it over sharp or rough edges, don’t let your dog chew it and it will be kind to you for a long time. Generally speaking, when you are getting into climbing for the first few years you won’t be taking huge numbers of massive falls on your rope like those projecting 9a, so ropes can last for quite a while.
Climbing Ropes Click HERE
6. Quickdraws x 10 & 1 x Locking Carabiner

Now we get to our final piece of kit in the “Gear for the Beginner Climber” guide and it means, especially for Blue Mountain’s climbers, that you can literally go out and climb thousands of routes. It means you can also go on climbing trips to Thailand, Spain, France, Red River Gorge and more; with this list of gear climb to your heart’s content. We advise buying an assortment of lengths and not to go too short with most of them. Having longer slings reduces rope drag which is very important on wandering routes or in roofs.
Having your own set of quickdraws means you can climb sport routes, which is any route with permanent protection already installed. They are the link between the bolts in the rock and your climbing rope. We recommend trying to get at least ten to cover most routes but typically Blue Mountains sport climbs can range anywhere between five and fifteen per pitch. The locking carabiner is for situations where snap gates don’t offer enough security, such as belays. If you intend to get into multi-pitch climbing then having an additional locking carabiner would be useful for safety at belays. You will soon learn that having spare lockers is always handy so they will not go astray.
Quickdraws & Carabiners Click HERE
Stage 2 Climbing Setup Complete!
You now have a typical Sport Climbing setup. Please be aware that this is an absolute minimum for a typical setup. There are many little additional things you may add over time like extra slings for long runners, additional snap gate carabiners, more locking carabiners for certain anchors and a helmet etc. However, once you start climbing with this initial gear list, you will slowly learn what other bits of kit you need and what you don’t.
Written By: Daniel Butler - Mountain Equipment's resident "trad lad"